How to Decorate Eggs for Easter
People have been decorating eggs for thousands of years. Ancient Egyptians decorated ostrich eggs, and early Christians in Mesopotamia dyed eggs to mark Easter. In 1290 King Edward I paid for 450 eggs to be coloured or covered in gold leaf and given to his entourage, and Henry VIII received one in a silver case as a present from the pope.
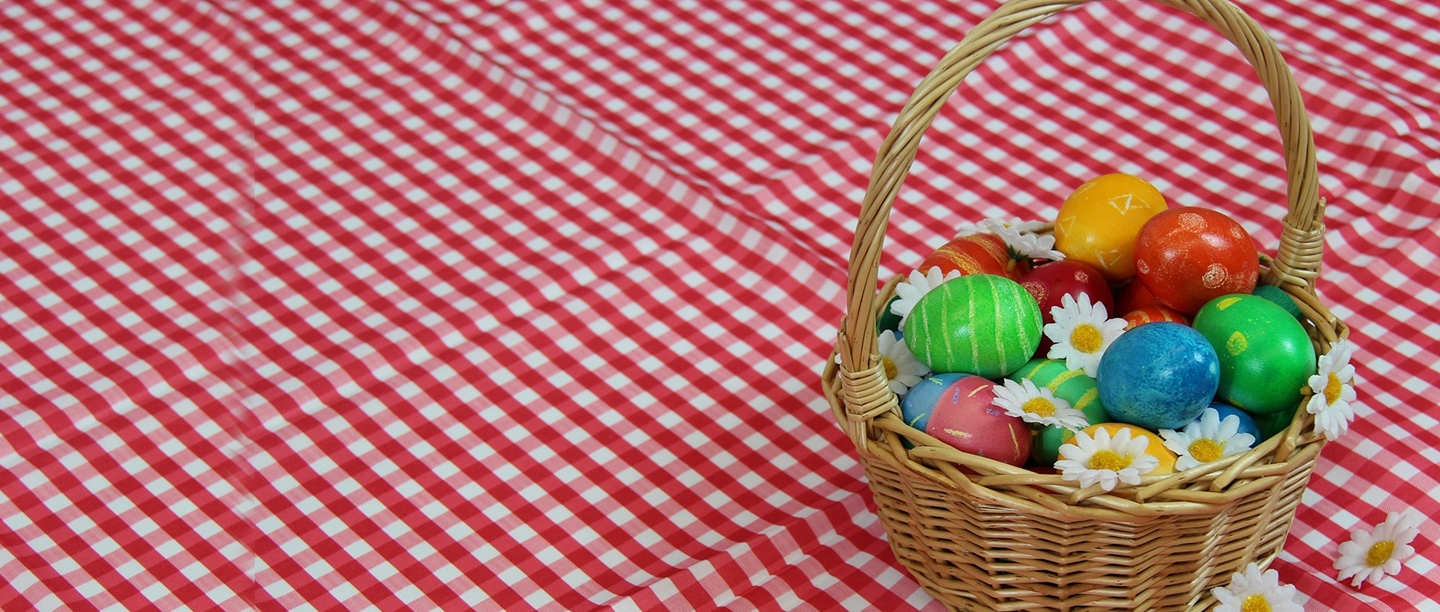
From the 18th century children decorated their own eggs at Easter, or received them as presents. These were called ‘pace eggs’, and they’re what we’ll be making today.
You will need...
- Some fresh eggs. Any kind or size will do, but we recommend using ones with white shells for the most vivid results
- Food colouring (we’re using yellow, red, green and blue)
- White wine vinegar
- A lightly coloured wax crayon
- Vegetable oil
- Disposable gloves
- A spoon
Step 1 - Prepare the eggs
- If your eggs have stamps on them, you can remove them by gently scrubbing them with a little white wine vinegar
- Boil the eggs for about 10-12 minutes - the timing will depend on the size and variety of your eggs
- Draw a design on the egg shells lightly with a wax crayon. When the eggs are submerged in the dye, an inscription will be left on a coloured background
Step 2 - Prepare the dye
- Next, it’s time to make some dye for the eggs. Natural dyes and pigments were used throughout history, such as onion skin for yellow, but to save time you can use food colouring
- Add a tablespoon of white wine vinegar to a large tumbler then add around 250ml of cold water. The vinegar will lower the pH of your mixture, making the dye bind to your eggs
- Add your food colouring and give it a good mix. The more colouring you use, the more vibrant your eggs will be. We used around 10 drops. You may also want to wear gloves to avoid your hands getting stained
Step 3 - Dying the eggs
- Gently lower your eggs into the dye bath, and leave submerged for around 10 minutes until the eggs are fully dyed
- Remove the eggs from the dye using a spoon - you will see your wax design appear like magic
- Once the dyed eggs have dried, use some kitchen towel to smear some oil over each one. Gently rub this off to give the eggs a nice shine. The oil will also help to hold the colour in place
- You can store your finished eggs in the fridge until required
What next? An Easter Adventure Quest
For a fun-filled day out this Easter, find an Easter Adventure Quest near you and hunt for chocolate rewards in England's most spectacular historic places.
Find an Easter event
More Crafts and Activities
-
Make a Sword
No adventure is complete without a trusty sword at your side. Take a look at our instructions for making your own out of cardboard and improve your swordsmanship.
-

Discover the Art of Heraldry
Show your true colours to a friend by making your own heraldry. Follow our guide to find out all about it, download a heraldic charge animal or beast and craft your very own piece of history.
-
Make a Shield
Make sure you are prepared for your adventure by making your own shield to boost your defence. Decorate it with your own heraldic design and have the best looking protection around.
