Meet Henry II's Lord Steward and make a model of Dover Castle's Great Tower
Explore the impressive Great Tower at Dover Castle and watch as young Members interview King Henry II’s Lord Steward. Then read on to find out more about the Great Tower and print our template to create your very own model of the tower.
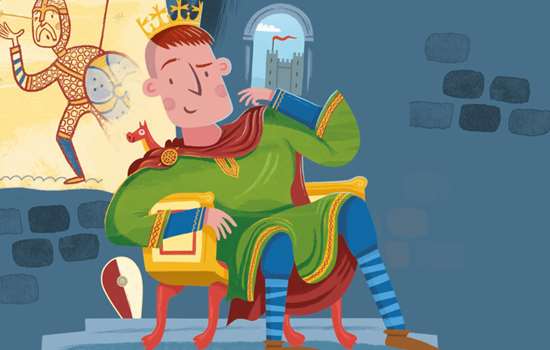
VIDEO: MEET KING HENRY II’S LORD STEWARD
The Lord Steward was one of the most important people to work for the king. Watch this video to join him in the Great Tower at Dover Castle as he prepares for a visit from King Henry II.
See the Lord Steward at work and explore the Great Tower as he answers questions from young Members on why the Normans built Dover Castle, what his job working for the king involves, where the king keeps his wealth… and what the king has for breakfast.
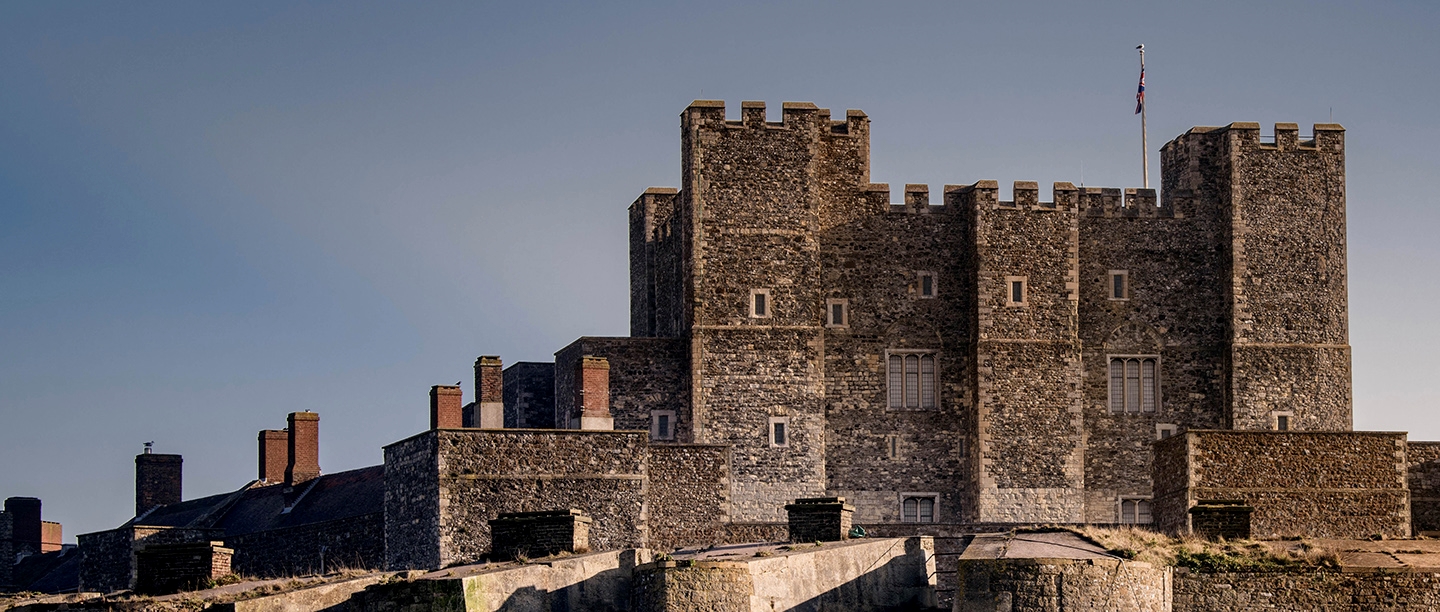
THE GREAT TOWER AT DOVER CASTLE
The castle that can be see today was built by Henry II, who reigned from 1154 to 1189. He wanted to create the most sophisticated castle design in Europe. The castle’s centrepiece was the huge Great Tower. It was designed to be both an imposing defensive structure and to provide luxurious quarters for the king and his guests. The tower’s interiors were lavishly decorated and full of vibrant colours, and included wall hangings and impressive furnishings.
The castle was along the pilgrimage route to the shrine in Canterbury of Thomas Becket, an archbishop who was murdered in 1170 – possibly on Henry’s orders – and who was made a saint in 1173. Henry used the castle to host important pilgrims who were making the journey to the shrine.
MAKE YOUR OWN MODEL OF HENRY II’S GREAT TOWER
Now you can make your very own model of the Great Tower at Dover Castle. Ask an adult to download the template and print it out for you, then you can follow the instructions below to finish the house.
Once you’ve completed it, put your model on display to impress your friends – just as the tower would have impressed Henry II’s visitors!
Download the templateHOW TO MAKE YOUR MODEL OF HENRY II’S GREAT TOWER
YOU WILL NEED:
- Your exclusive templates
- Scissors
- Glue stick or double-sided sticky tape
-
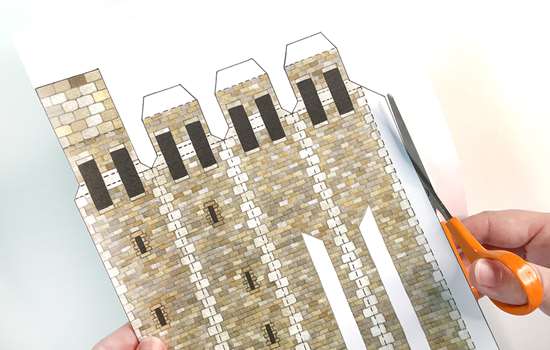
Step 1
Download the template, print it out and then carefully cut out all the pieces with scissors (or ask a grown-up to help you).
-

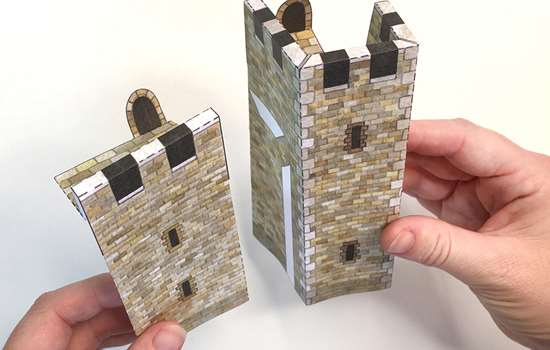
Step 2
Begin with the corner towers. Fold along the dotted lines. Fold the tops down and fold the tabs up to create a horizontal platform. Starting with the side attached to the lookout floor, fold the tower round so the floor sits on the adjacent tab. Fold the next corner round. Attach the tab underneath the floor. Repeat for the other sides.
-
Step 3
Complete the tower by sticking the final edge together, glueing along the long vertical tab. Repeat for all four corner towers. Glue the top of the tower together first so that you can get your fingers into position for the lookout floor, before glueing the side of the tower together.
-
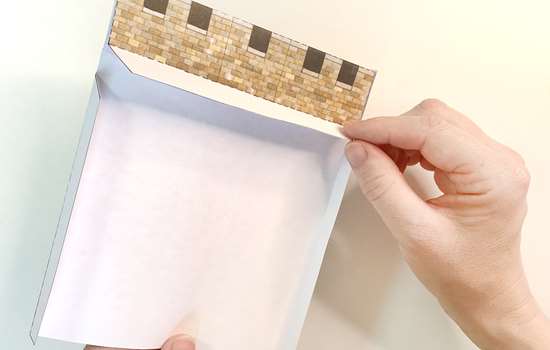
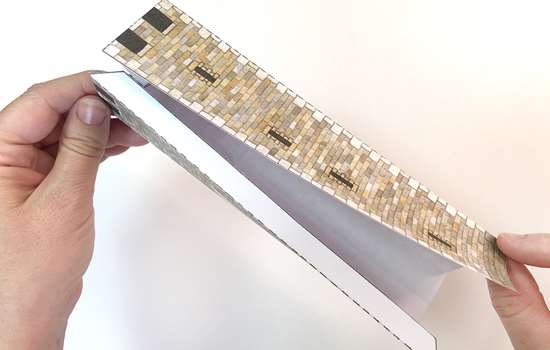
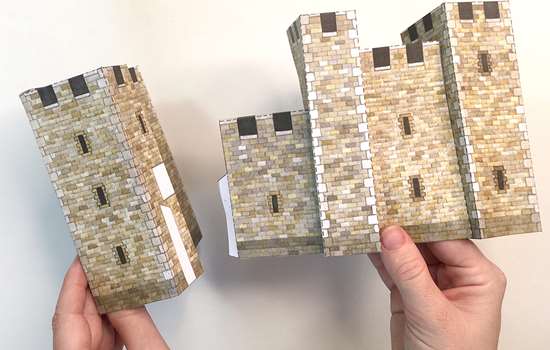
Step 4
Next, we need four walls. Fold the tops of the walls down and fold the big tab at the top horizontally (like you did for the tower). Glue the sides together so that the walls maintain their shape. Repeat to create four walls.
-
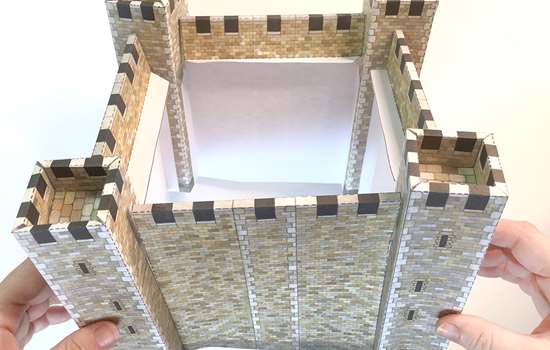
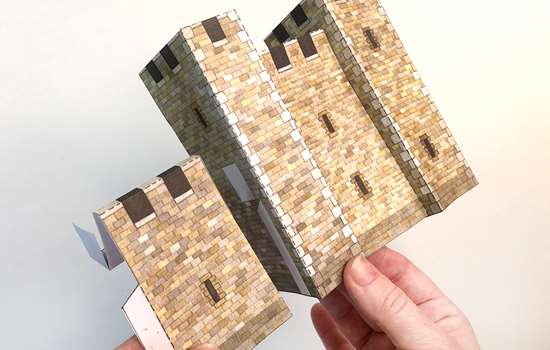
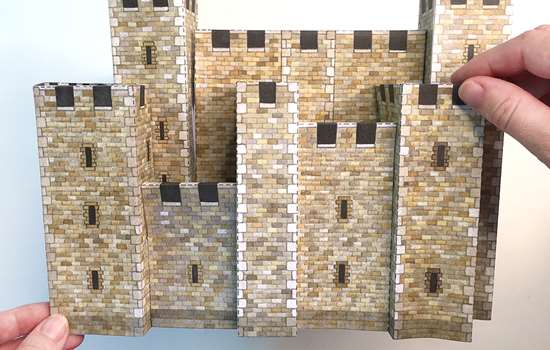
Step 5
Now we need to join the four walls and the four towers together. The white areas on the towers correspond with the tabs on the side of the walls. Glue the walls on to these white areas. For extra strength, use tape as well. Work your way around until all the walls and towers are joined together.
-
Step 6
Take two pitched roofs and fold round to create two triangular wedges. Attach these to the white area on the roof.
-
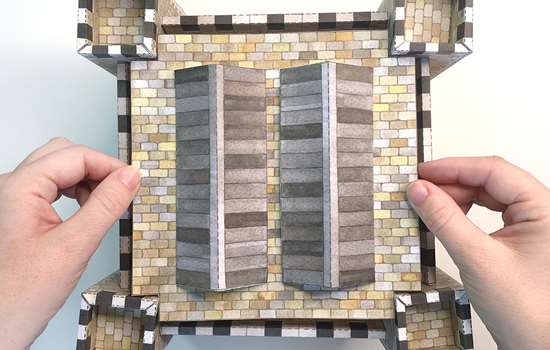
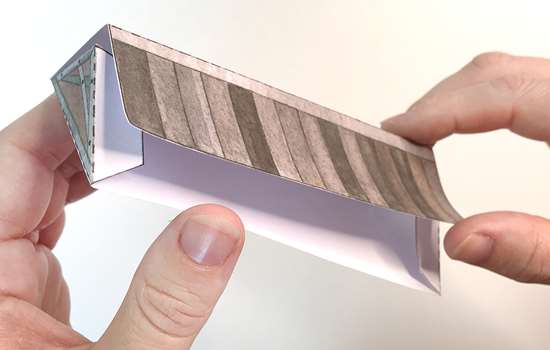
Step 7
Put glue along the long horizontal tabs at the top of your castle walls and drop the roof in. You may find it helps to get your hand in underneath the model, so you can press the roof on to your castle walls. You’ll notice by adding the roof it’s become much sturdier.
-
Step 8
Next, we need to make the gallery that runs around the outside. Let’s start with part A, in the corner. Fold along the dotted lines and fold the lookout floor down to create a three-sided tower. Fold B the same way you did the castle walls, then attach B to A, using the white areas as a guide for where to stick.
-
Step 9
Fold C, creating another three-sided tower. Attach C to B, positioning the tabs in the white areas on B. Fold D, creating a small wall. The two black rectangles either side fold up to create archways into the castle. Attach D to C, lining the tabs up with the white areas again. You should now have four parts attached together.
-
Step 10
To make E, we need to attach E1 and E2 together to create one long section. Fold along the dotted lines and fold the floor down to create an L-shaped building. Attach the tabs on D to the white areas on E to complete your gallery.
-
Step 11
Slide the gallery on to the castle and glue in place. It will fit exactly. For extra security, add some extra tape underneath your model.
-
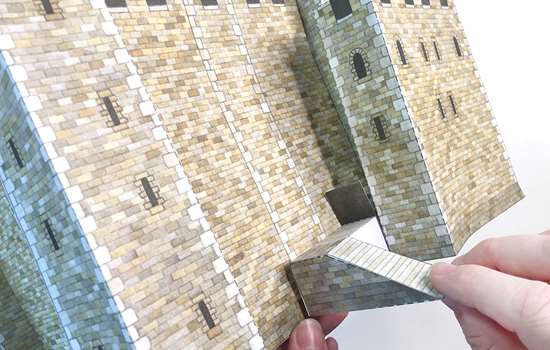
Step 12
Finally, fold the stairs together, and slide in between the gallery and the main castle. Secure with glue or tape. Congratulations, you’ve finished building your very own version of the Great Tower at Dover Castle!