Make your own Victorian-style scrapbook
Read all about the history of Victorian scrapbooks and find out what people used to keep in them. Then discover how to make your very own scrapbook for keeping all of your special souvenirs and keepsakes together in one place!
By the book
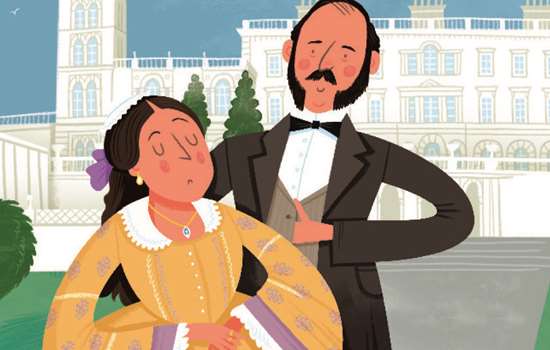
Putting together scrapbooks was a popular hobby during the 19th century for both children and adults. But scrapbooks are even older than that! In the 15th century, people created ‘commonplace’ books, which might include letters, prayers and herbal remedies.
By the Victorian period, these albums contained diary entries, poems, drawings and all sorts of printed items, such as greetings cards, newspaper clippings, postcards and tickets to events. All of these were glued onto the blank pages of a scrapbook.
Picture Perfect
Many people also included 'scraps' in their scrapbooks. These were small cut-out pictures used to decorate the gaps. Victorians could buy all sorts of different scraps to add to their albums, including flowers, animals and caricatures of people.
Why not create your own Victorian-inspired scrapbook? You can use it to keep all your favourite things in one place, whether it’s pages from magazines or comics, drawings, photos, stickers, diary entries or even your favourite jokes!
How to create a Victorian scrapbook
You will need:
• Two pieces of card
• Pieces of paper the same size as the card. You could use different colours of paper to make your scrapbook more interesting
• Cut-out images for the front cover, or felt-tip pens
• Scissors
• Glue
• Hole punch
• Length of ribbon (about the same length as the height of the pieces of card)
-

Step 1
On one of the pieces of card, design your front cover. You could glue on a variety of images you have cut out and overlap them too, so they fill the card (this is called decoupage), or draw your own cover using felt-tips.
-

Step 2
Give your scrapbook a title. Either write it on with felt-tips or write the title on a piece of white paper, cut it out and glue it on to the cover. Once the glue has dried, leave your cover under some heavy books to flatten it.
-

Step 3
Make two holes about 8cm apart on the left-hand side of your front cover, then make holes in your back cover and pieces of paper in the same places.
Top tip: lay your front cover over the back cover and pages, and mark through the holes with a pencil, so that you can perfectly line up your pages! -

Step 4
Line up your pieces of paper inside the two cardboard covers – these will be your pages. Thread a piece of ribbon through the holes and tie it together to hold everything in place. Your scrapbook is now ready to start filling with all of your favourite things!